Photography is a wonderful hobby and a powerful form of self-expression. But for beginners, handling a camera can seem like a daunting task. With so many buttons, settings, and different lenses, it’s easy to feel overwhelmed. However, with a few simple tips and some practice, you’ll soon feel confident in your ability to capture beautiful photos. In this guide, we’ll cover essential tips on how to handle your camera with ease and get the most out of your photographic experience.
Understanding Your Camera
Before you start snapping photos, it’s important to understand the basic functions of your camera. Whether you’re using a smartphone, a DSLR, or a mirrorless camera, knowing your equipment will help you use it more effectively.
Get to Know Your Camera’s Controls
Every camera, regardless of its type, has essential controls that you need to be familiar with. If you’re using a DSLR or mirrorless camera, these include:
- Shutter Button: The button you press to take a photo. This is the primary control for capturing images.
- Mode Dial: The mode dial allows you to select different shooting modes, such as auto mode, portrait mode, landscape mode, or manual mode. Understanding these modes will help you capture images in a variety of settings.
- ISO Settings: ISO controls the camera’s sensitivity to light. Lower ISO values (e.g., 100-400) work best in bright lighting conditions, while higher ISO values (e.g., 1600-3200) are useful in low light but may introduce noise.
- Aperture and Shutter Speed: These are essential elements of exposure. Aperture controls the amount of light entering the lens, and shutter speed determines how long the camera’s sensor is exposed to light.
Familiarizing yourself with these basic controls will help you take more control over your photos.
Handle the Camera Comfortably
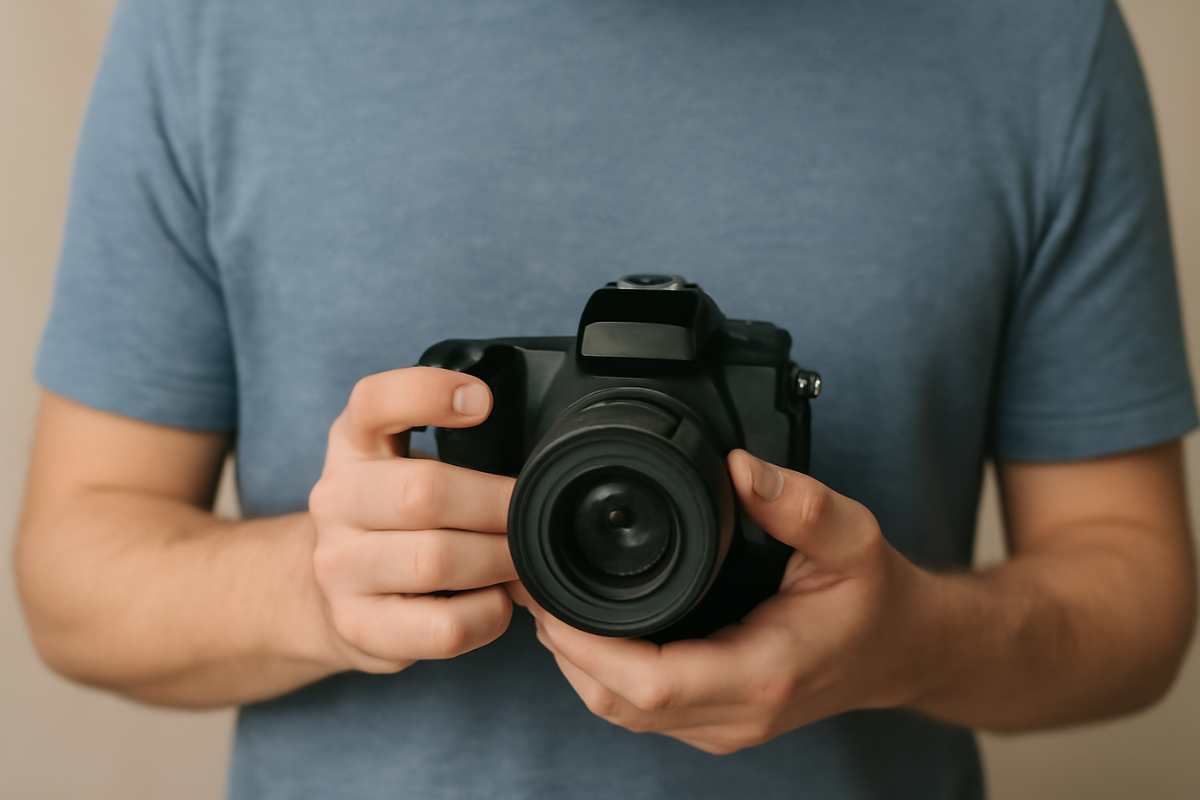
To handle your camera with ease, it’s important to learn how to hold it properly. Here are some tips to ensure you have a firm grip and avoid camera shake:
- Use Your Right Hand to Grip the Camera: Your right hand should wrap around the grip of the camera, with your fingers resting on the shutter button. Keep your thumb on the back of the camera for support.
- Support the Lens with Your Left Hand: Place your left hand under the lens to provide additional stability. This is especially important when using larger lenses.
- Elbows Close to Your Body: Keeping your elbows close to your body creates a stable base and helps minimize shake.
- Use a Strap for Extra Support: If your camera is heavy, use the camera strap around your neck or wrist for added stability.
Mastering Basic Photography Techniques
Now that you understand the controls and how to handle your camera, it’s time to dive into the basic photography techniques that every beginner should master.
1. Use the Right Exposure Settings
Exposure is the amount of light that reaches your camera’s sensor. A well-exposed image will have good contrast, with details in both the highlights and shadows.
- Shutter Speed: The shutter speed controls how long the camera’s shutter remains open. Faster shutter speeds (e.g., 1/1000s) freeze motion, while slower speeds (e.g., 1/30s) can create motion blur.
- Aperture: The aperture size determines the depth of field in your photos. A larger aperture (e.g., f/2.8) creates a shallow depth of field (blurred background), while a smaller aperture (e.g., f/16) increases the depth of field (more of the image is in focus).
- ISO: As mentioned earlier, ISO determines your camera’s sensitivity to light. Use the lowest ISO setting possible for bright conditions, and increase it in low-light environments to avoid underexposure.
2. Focus on the Subject
Proper focus is essential for capturing sharp, clear images. Many cameras have automatic focus, but it’s good to know how to manually adjust focus for more control.
- Single-Point Focus: Set your camera to single-point focus mode, which allows you to choose a specific area in the frame to focus on. This is helpful for portraits or detailed shots where you want to emphasize a subject.
- Continuous Autofocus: This mode is great for capturing moving subjects. The camera will continuously adjust focus to keep the subject sharp as it moves within the frame.
- Manual Focus: If you’re in a situation where autofocus doesn’t work well (e.g., in low light or with small objects), try using manual focus for greater accuracy.
3. Stabilize Your Shots
Camera shake can ruin an otherwise perfect shot. Here are some tips for stabilizing your camera and reducing blur:
- Use a Tripod: A tripod is one of the most effective ways to keep your camera steady. This is especially useful in low-light situations or when using slow shutter speeds.
- Increase Shutter Speed: Using a faster shutter speed helps minimize blur from camera shake. As a general rule, set your shutter speed to at least 1/50s if you’re hand-holding the camera.
- Use Image Stabilization: Many modern cameras and lenses come with built-in image stabilization. Make sure it’s activated to help reduce shake when shooting handheld.
4. Understand Composition
Composition is the art of arranging elements in the frame to create a visually appealing image. By using simple composition techniques, you can make your photos more dynamic and engaging.
- The Rule of Thirds: Imagine dividing your frame into a 3×3 grid. Place the main subject along the grid lines or where they intersect. This creates a balanced composition and draws the viewer’s eye to the subject.
- Leading Lines: Use lines in your environment, such as roads, rivers, or pathways, to guide the viewer’s eyes toward the main subject. This adds depth to your photos and creates a sense of movement.
- Framing: Use natural elements, such as doorways, windows, or trees, to frame your subject. This technique adds depth and focuses attention on the subject.
- Simplicity: Avoid cluttering your frame with too many elements. A simple background or minimalistic approach can make your subject stand out.
Practice Makes Perfect
Photography is a skill that improves with practice. Don’t be afraid to experiment and make mistakes. The more you practice, the more comfortable you’ll become with your camera, and the better your photos will be.
Take Photos Every Day
Try to take photos every day, even if it’s just of everyday objects. Experiment with different settings, compositions, and lighting to see how it affects your photos. Over time, you’ll develop a better understanding of your camera’s capabilities and how to use it effectively.
Review Your Photos
After each shoot, take the time to review your photos. Analyze what worked and what didn’t. Did the exposure look right? Was the subject in focus? Was the composition strong? This process of self-reflection will help you improve and grow as a photographer.
Learn from Others
Look at photos from other photographers for inspiration. Study their techniques, composition, and lighting to see what makes their images stand out. You can also join photography communities online or attend workshops to learn from others.
Conclusion: Handling Your Camera with Confidence
Handling your camera with ease comes down to understanding your equipment, mastering basic photography techniques, and practicing regularly. With time, you’ll feel more comfortable and confident using your camera to capture beautiful images. Remember, photography is an art, and like any art form, it requires patience, practice, and creativity. So take your camera, get out there, and start capturing the world around you!