The perspective in photography is one of the most important elements that can dramatically influence how a scene or subject is perceived. Whether you’re capturing a landscape, a portrait, or a street scene, the perspective you choose can add depth, drama, and meaning to your photos. Finding the perfect perspective is a skill that requires experimentation, awareness of your environment, and an understanding of how different angles, compositions, and focal lengths affect the visual narrative of your image.
In this article, we will explore tips and techniques to help you find the perfect perspective in your photos, regardless of the subject matter or shooting conditions.
1. What is Perspective in Photography?
In photography, perspective refers to the way objects appear in relation to one another in a two-dimensional image, based on their size, distance, and position in the frame. Perspective plays a key role in conveying depth and dimension in your photos, as well as directing the viewer’s attention to a particular subject or area of the frame.
There are a few factors that can influence perspective:
- The Camera Angle: The direction from which you shoot your subject (e.g., above, below, or eye level).
- The Focal Length: The zoom or wide angle of your lens (e.g., a wide-angle lens exaggerates perspective, while a telephoto lens compresses it).
- Distance: How far or close you are to the subject.
By adjusting these factors, you can change how the elements in your photo relate to each other, allowing you to create a variety of looks and moods.
2. Experiment with Different Angles
One of the easiest ways to change the perspective in your photos is to adjust your angle. The camera angle can drastically affect how the subject is perceived, adding drama, emphasis, or a new perspective on a common scene. Here are a few angles to consider:
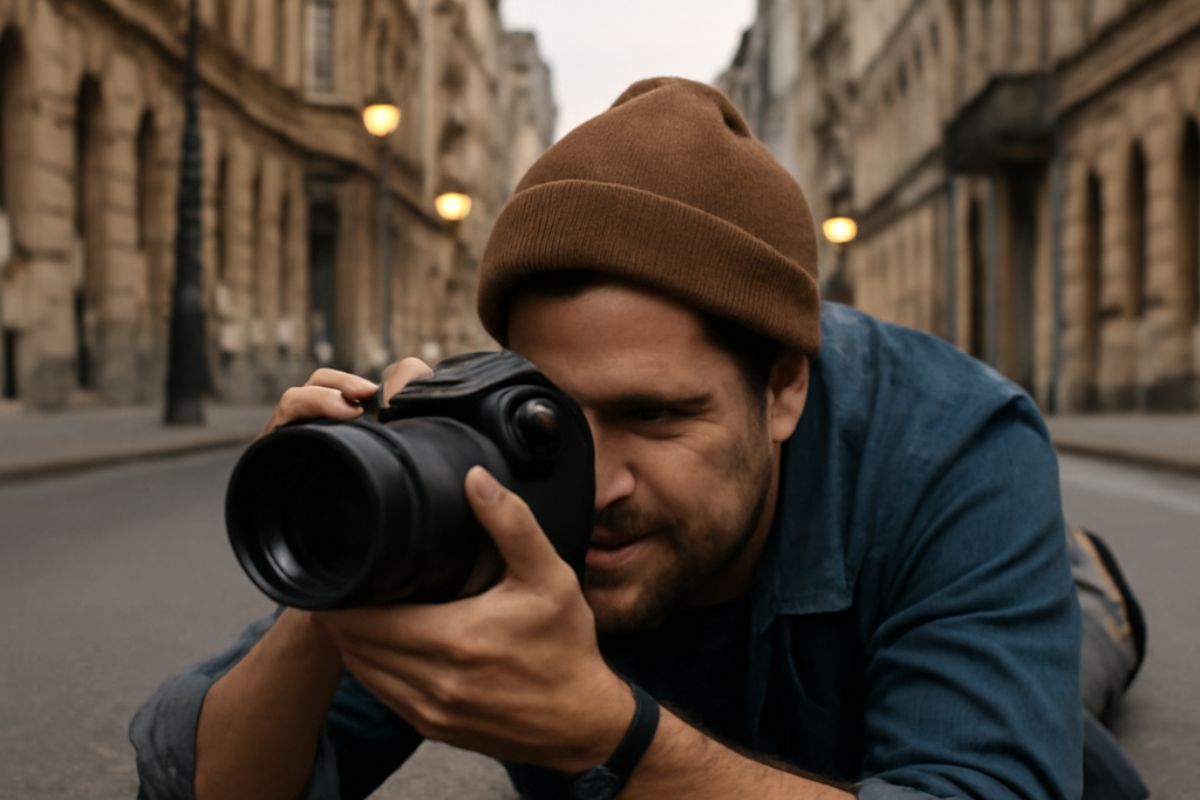
Eye-Level Perspective
Shooting from eye level is the most common and natural perspective in photography. This angle allows your subject to appear familiar and easily relatable to the viewer. It’s perfect for portraits, street photography, and capturing everyday moments.
- Use it for: Capturing natural, candid scenes where the viewer is supposed to relate directly to the subject.
High Angle
Shooting from a high angle, where you look down on the subject, can create a sense of dominance, power, or vulnerability, depending on the context. It can also give a unique, bird’s-eye view of a scene, helping to emphasize patterns or shapes.
- Use it for: Showing subjects in their environment, creating a sense of overview, or making the subject appear smaller or more vulnerable.
Low Angle
Shooting from a low angle, where the camera is placed low to the ground and pointed upwards, can create a sense of grandeur and importance. Low angles exaggerate the height of tall objects like buildings or trees, making them appear more imposing.
- Use it for: Capturing towering buildings, athletes, or any subject where you want to emphasize height or create a sense of awe.
Dutch Angle (Tilted Angle)
A Dutch angle, or canted angle, is when the camera is tilted sideways. This unconventional perspective can add a sense of drama, disorientation, or unease to your photo. It’s often used in action or dramatic scenes to convey tension or excitement.
- Use it for: Creating dynamic, off-kilter shots that convey action, energy, or a sense of imbalance.
3. Play with Depth and Leading Lines
Perspective can also be enhanced by incorporating depth into your photos. By using foreground, middle ground, and background elements effectively, you can create a sense of space and dimension, even in a two-dimensional image. Here are a few tips on how to create depth in your photos:
Use Leading Lines
Leading lines are natural or man-made lines in a scene that guide the viewer’s eye toward a point of interest or the center of the image. Roads, rivers, fences, and even the edge of a building can serve as leading lines. When used strategically, they create a sense of depth and draw attention to the subject or the horizon.
- Use it for: Creating a dynamic composition that directs the viewer’s attention and adds depth to the image.
Incorporate Layers
Adding multiple layers to your image—foreground, middle ground, and background—gives the viewer a sense of depth. For example, a landscape photograph with a person in the foreground, a mountain range in the middle, and a vast sky in the background creates a layered effect that makes the scene feel more immersive.
- Use it for: Emphasizing depth and creating a sense of space within the frame.
Use Foreground Interest
Placing something interesting in the foreground, such as flowers, a rock, or architectural details, can also create depth in your photos. The foreground acts as an anchor, making the image feel more three-dimensional.
- Use it for: Drawing attention to the subject by framing it with an interesting foreground.
4. Focal Length and Perspective Compression
The focal length of your lens plays a significant role in how perspective is represented in your photos. Lenses come in various focal lengths, from wide-angle lenses (short focal lengths) to telephoto lenses (long focal lengths). These lenses alter how perspective is perceived.
Wide-Angle Lens
A wide-angle lens (e.g., 24mm or 35mm) exaggerates perspective by making objects in the foreground appear much larger and closer, while objects in the background appear smaller and farther away. This effect is perfect for showing vast landscapes, dynamic scenes, or close-ups of a subject against a dramatic background.
- Use it for: Landscape photography, architecture, or any situation where you want to emphasize depth and exaggerate the space.
Telephoto Lens
A telephoto lens (e.g., 100mm or 200mm) compresses perspective by making objects in the foreground and background appear closer together. This is useful for isolating a subject or capturing distant details with a shallow depth of field. Telephoto lenses are great for portraits or wildlife photography.
- Use it for: Creating a compressed look, isolating subjects, or achieving a shallow depth of field.
Normal Lens
A normal lens (e.g., 50mm) offers a natural perspective that closely resembles how the human eye sees the world. It’s perfect for capturing scenes that don’t require any exaggerated depth or compression.
- Use it for: Everyday photography, portraiture, and close-up shots.
5. Experiment with Reflection and Symmetry
Another interesting way to find a unique perspective is to use reflections and symmetry. These techniques can create visually striking images that feel balanced or even surreal.
Reflections
Water, glass, and shiny surfaces can create interesting reflections, adding depth, symmetry, and a sense of harmony to your composition. Shooting a subject reflected in a lake or glass window provides an alternative viewpoint, adding a layer of creativity to the image.
- Use it for: Creating symmetry and balance, or for capturing abstract or artistic reflections.
Symmetry
Symmetrical compositions, where both sides of the image are mirrored, create a visually pleasing and balanced perspective. Look for architectural designs, nature scenes, or even human subjects that form perfect symmetry in the frame.
- Use it for: Producing harmonious images that draw the viewer’s attention to the center of the frame.
6. Timing and Context: The Subject’s Relationship to Perspective
Sometimes, the perfect perspective depends not just on technical settings, but on timing and context. A photographer’s ability to anticipate a moment and capture it at the right time can change the perspective entirely.
- Watch for Dynamic Moments: In action photography, timing is key to capturing the perfect moment. A runner in mid-stride, a bird taking flight, or an athlete making a crucial move—all of these can add dynamic energy to a scene, offering a new perspective on an ordinary subject.
- Be Mindful of Your Environment: Consider how the environment shapes the perspective of your subject. For instance, a subject in a crowded urban space might appear more isolated when photographed from an elevated angle, providing a contrast between the subject and the surrounding chaos.
Conclusion: Mastering Perspective for Compelling Photos
Finding the perfect perspective in your photos is about understanding how different elements like camera angles, focal lengths, and composition affect the visual narrative of the image. By experimenting with different techniques, such as adjusting your shooting angle, incorporating leading lines, or using reflections and symmetry, you can capture photos that are not only technically sound but also visually compelling and emotionally resonant.
Remember, perspective is not just about what you see—it’s about how you interpret and convey that scene to your audience. So, grab your camera, explore different perspectives, and see how the world around you can transform through the lens of your creativity.