Night photography can be an incredibly rewarding form of photography, allowing you to capture a unique world that is often invisible to the naked eye during the day. Whether you’re photographing cityscapes, starry skies, or illuminated architecture, nighttime presents opportunities to create dramatic, vibrant images that tell an entirely different story. However, shooting at night can also be challenging due to lower light conditions and the need for specific camera settings.
In this article, we’ll cover everything you need to know to master night photography and capture stunning images that stand out. From understanding exposure to using the right gear and techniques, we’ll guide you through the essential steps for taking breathtaking nighttime photos.
1. Understanding Exposure at Night
In daylight, your camera’s sensor can easily gather enough light to produce a well-exposed image. But at night, the light is much more limited, which requires adjusting your camera settings. To get a good exposure during low-light conditions, you need to work with the exposure triangle, which consists of aperture, shutter speed, and ISO.
Aperture
The aperture controls the amount of light entering your camera through the lens. A larger aperture (a smaller f-number, like f/2.8 or f/4) allows more light to hit the sensor, making it ideal for night photography. When shooting at night, it’s often best to use the widest aperture your lens allows to ensure enough light reaches the sensor.
- Use wide apertures like f/2.8, f/4, or wider if possible to capture as much light as you can.
Shutter Speed
Shutter speed determines how long the camera’s sensor is exposed to light. For night photography, you’ll need to use slower shutter speeds to allow enough time for light to hit the sensor. However, too slow a shutter speed can result in camera shake, causing your images to appear blurry.
- For cityscapes or star photography, try using shutter speeds of 10 to 30 seconds.
- For moving subjects, use faster shutter speeds like 1/60s to 1/250s to avoid motion blur.
ISO
ISO controls the sensitivity of your camera’s sensor to light. While raising the ISO allows you to capture more light, it can also introduce noise (graininess) to the image, which is especially visible in low-light scenes. Finding a balance between ISO and other settings is key to minimizing noise while achieving proper exposure.
- Start with a low ISO like 800 or 1600 for city shots.
- Increase ISO to 3200 or 6400 if you’re capturing starry skies or low-light subjects, but be aware of the noise levels.
2. Essential Camera Settings for Night Photography
Night photography requires specific camera settings to ensure you capture clear, well-lit images. Here are the best settings to use depending on your subject:
Use Manual Mode
While your camera’s automatic settings may work for daylight shots, night photography requires full control over the exposure settings. Set your camera to manual mode to adjust the aperture, shutter speed, and ISO according to the lighting conditions.
- Aperture: Set the widest aperture (lowest f-number) available.
- Shutter Speed: For stationary subjects, use longer exposures (10–30 seconds). For moving subjects, adjust the shutter speed to freeze the motion.
- ISO: Start at ISO 800 and adjust upward if needed.
White Balance
At night, streetlights and artificial lights can cast an orange or yellow tint on your photos. Adjusting the white balance can help you achieve more accurate colors and reduce the warm glow from artificial lighting.
- Set white balance to “Tungsten” or “Incandescent” to correct the yellowish cast of artificial lighting.
- Manual White Balance: Use this setting for full control and adjust until the colors look natural.
Shoot in RAW
Shooting in RAW format is highly recommended for night photography. RAW files capture more detail and allow for greater flexibility in post-processing, especially when adjusting exposure, contrast, and colors. This is particularly useful when dealing with low-light conditions and noisy images.
3. The Best Gear for Night Photography
While you don’t need the most expensive gear to take great night photos, having the right equipment can make a huge difference in the final result. Here’s a list of essential gear for night photography:
Tripod
One of the most important pieces of equipment for night photography is a tripod. Since you’ll often be using long shutter speeds, a tripod helps to keep your camera steady and avoid camera shake, which would cause your images to be blurry.
- Look for a sturdy tripod that can hold your camera securely during long exposures, especially in windy conditions.
Remote Shutter Release or Self-Timer
Even the slightest camera movement from pressing the shutter button can cause blur during long exposures. Using a remote shutter release or the self-timer function on your camera will prevent camera shake and ensure sharp images.
- Wireless remotes or smartphone apps can allow you to trigger the camera from a distance without touching it.
Wide-Angle Lens
A wide-angle lens is ideal for capturing expansive nightscapes, including city skylines or starry skies. A lens with a wide aperture (e.g., f/2.8) will also help you gather more light, making it easier to capture well-exposed photos in low light.
- For cityscapes, a lens in the range of 14mm to 35mm is great.
- For star photography, use a lens with a wide aperture (f/2.8 or faster) and a focal length of 14mm to 24mm.
4. Techniques for Night Photography
Now that you have the right camera settings and gear, here are some key techniques to help you take stunning night photos.
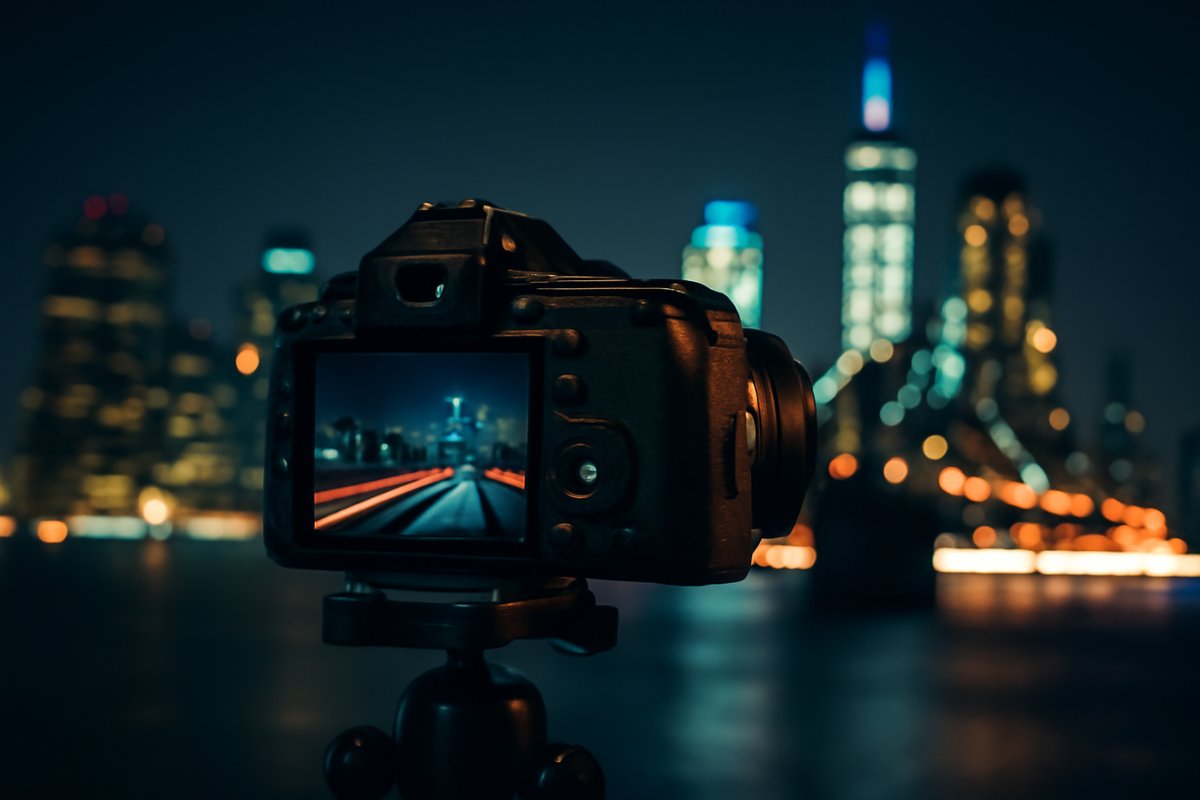
Light Trails
Capturing light trails is one of the most popular techniques in night photography. Car headlights, taillights, and moving lights can create beautiful streaks that add motion and dynamism to your images.
- Use a long exposure (15–30 seconds) to capture the motion of lights.
- Set your aperture to f/8 or f/11 for a sharp, clean background while emphasizing the light trails.
Star Photography
If you want to capture the night sky and stars, it’s essential to use a technique called the “500 rule”. This rule helps you find the maximum shutter speed to avoid star trails (unwanted motion blur of stars).
- Shutter speed = 500 ÷ focal length (for full-frame cameras). For example, if you’re using a 24mm lens, the maximum shutter speed is 500 ÷ 24 = 21 seconds.
- Shoot at ISO 1600–3200, depending on the brightness of the stars and your camera’s noise performance.
Urban and Architecture Photography
Capturing cityscapes and architecture at night is all about highlighting the contrast between artificial lights and dark skies or buildings.
- Use a tripod for long exposures (10–30 seconds) to capture the full range of light.
- Focus on reflections in windows, puddles, or other shiny surfaces to add depth to your image.
- Look for illuminated landmarks, streets, and buildings with vibrant lighting.
5. Post-Processing Night Photos
Even if you get your settings perfect in-camera, post-processing is often necessary to enhance the colors, contrast, and overall appearance of your night photos. Here are a few editing tips:
Reduce Noise
Higher ISO settings can introduce noise, especially in low-light photos. Use noise reduction tools in your editing software (like Adobe Lightroom or Photoshop) to clean up your images without losing detail.
Adjust the Exposure
Night photos can often appear underexposed or too dark. Adjust the exposure, shadows, and highlights in post-processing to bring out the details and ensure a well-balanced image.
Enhance the Colors
Nighttime photos benefit from adjustments to the vibrance and saturation to bring out the rich hues of artificial lights or the night sky. Be cautious not to overdo it, as this can lead to unnatural-looking images.
Conclusion: Capturing Stunning Nighttime Photos
Night photography is an exciting and creative way to explore new subjects and perspectives. By understanding how to adjust your camera settings, using the right gear, and mastering techniques like long exposure and star photography, you can create beautiful, captivating images that stand out.
Experiment with different compositions, lighting conditions, and subjects, and don’t be afraid to push the boundaries of your creativity. With practice and patience, you’ll soon be able to capture stunning photos that truly shine in the dark.