Studio portrait photography offers photographers the opportunity to work in a controlled environment, using artificial lighting and carefully selected backdrops to create polished, professional images. Unlike shooting outdoors or in uncontrolled settings, the studio provides you with complete control over the lighting, composition, and even the atmosphere of the shoot. This control is key to creating high-quality portraits that stand out.
In this article, we’ll explore essential tips and techniques for studio portrait photography, helping you master the art of creating stunning, professional images in a controlled environment.
1. Understanding the Basics of Studio Portrait Photography
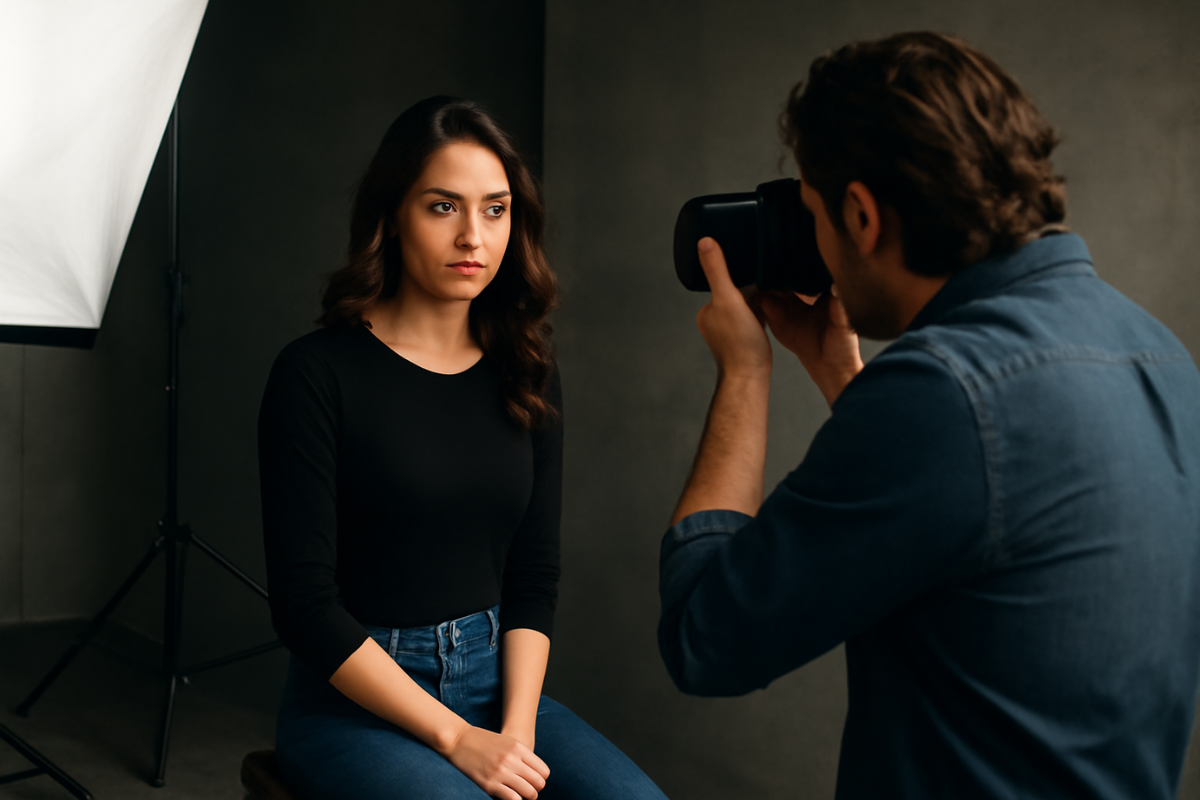
Studio portrait photography is the art of capturing subjects using artificial lighting and a controlled environment, typically in a studio setting. The aim is to highlight the subject’s features and convey a specific mood or personality through the use of lighting, backdrop, and composition.
The Importance of Lighting in Studio Portraits
Lighting is the most crucial element in portrait photography. In the studio, you can use various lighting setups to create different effects, such as soft, diffused light for flattering portraits or dramatic lighting for a more intense, moody feel. The beauty of studio lighting is that you can shape it to suit the subject and the mood you want to convey.
Key Elements in Studio Portraits
- Backdrop: The background you choose will help set the tone of the portrait. In the studio, you can use seamless paper, fabric backdrops, or other props to enhance the image.
- Subject Placement: The way you position your subject in relation to the camera and the lights will affect the mood and composition of the portrait.
- Camera Settings: Studio portrait photography allows for precise control over exposure, depth of field, and focus, ensuring sharp and professional results.
2. Setting Up Your Studio
Setting up a studio for portrait photography requires careful planning. You need to arrange the space, lighting, and props to create the ideal environment for your subject.
Choosing the Right Space
A dedicated studio space is ideal for portrait photography, but if you’re working in a smaller space, make sure to leave enough room to move around the subject. Ideally, your studio should be large enough to accommodate your camera, lighting equipment, and the subject while allowing for comfortable movement.
- Tip: If you’re shooting at home, consider using a corner or a room with enough space for both the subject and the backdrop.
Backdrops and Backgrounds
The backdrop is a key element in studio portraits. It serves to either complement or contrast with the subject, depending on the mood you want to create. Some common choices include:
- Seamless Paper: Popular for a clean, professional look, paper backdrops come in various colors and are perfect for minimalist portraits.
- Fabric: Cloth backdrops offer texture and can create a more dynamic, artistic feel.
- Custom Props: Adding props to the background, such as furniture, plants, or lighting elements, can add personality and interest to the shot.
- Tip: If you’re using a plain backdrop, make sure it complements the subject’s clothing and skin tone. You can also use colored lighting or gels to add a touch of drama to the background.
3. Mastering Lighting Techniques
Lighting is the foundation of any good portrait, and understanding how to shape and manipulate light in a studio setting will allow you to create professional-quality images. There are various lighting setups you can use, depending on the mood and style you want to achieve.
Key Light
The key light is the main light source in your setup. It is typically positioned at a 45-degree angle to the subject, either to the left or right. The key light creates shadows on the subject’s face, adding dimension and depth to the portrait.
- Softboxes or umbrellas are commonly used to diffuse the light, creating a soft and flattering effect on the skin.
- Tip: For a more dramatic portrait, you can use a hard light (with no diffusion) to create sharp, defined shadows and enhance facial features.
Fill Light
The fill light is used to soften the shadows created by the key light. It is usually positioned on the opposite side of the key light and is less intense, ensuring that the shadow areas of the subject’s face are still visible without being overly harsh.
- Tip: Use a reflector or a second light at a lower power to serve as a fill light. Reflectors are great for bouncing light back onto the subject without the need for another light source.
Backlight or Hair Light
To separate the subject from the background and create a sense of depth, a backlight (also known as a hair light) is placed behind the subject. This light creates a rim of light around the subject, highlighting the hair and shoulders.
- Tip: A backlight is especially useful when you’re shooting on a dark backdrop, as it helps the subject stand out and adds a three-dimensional effect to the portrait.
Lighting Setups to Try
- Rembrandt Lighting: This classic lighting setup creates a triangle of light on the subject’s cheek, resulting in a dramatic yet flattering effect. It is achieved by placing the key light at a 45-degree angle and slightly above the subject’s eye level.
- Butterfly Lighting: Named after the shape of the shadow under the nose, this setup involves placing the key light directly in front and above the subject. It’s often used for beauty portraits, as it creates soft, even light with minimal shadows.
- Loop Lighting: A popular setup for portraits, loop lighting involves positioning the key light slightly above and to the side of the subject, creating a small shadow under the nose.
4. Posing Your Subject
Posing is an important part of creating a flattering and professional portrait. The right pose can make a huge difference in how the final image looks and how the subject feels during the shoot.
Directing Your Subject
- Facial Expression: Encourage your subject to relax and express a natural emotion. Whether it’s a smile, a serious look, or something more subtle, capturing authentic expressions is key to making the portrait feel real and engaging.
- Body Position: Guide your subject to pose in ways that highlight their best features. For instance, slightly tilting the head, shifting weight to one foot, or angling the shoulders can create more dynamic and flattering poses.
- Tip: To avoid stiff poses, communicate with your subject and create a relaxed atmosphere. Try shooting a few frames during natural interactions between you and the subject to capture candid moments.
Composition and Framing
When framing the shot, pay attention to the composition. Use the rule of thirds to place the subject slightly off-center for a more dynamic composition. Also, leave space around the subject to avoid a cramped or uncomfortable look.
- Tip: Experiment with the background to ensure it doesn’t distract from the subject. A simple backdrop with minimal elements will keep the focus on your subject.
5. Post-Processing Studio Portraits
Once your portrait session is complete, post-processing is where you can truly elevate the final image. Editing allows you to refine details, adjust exposure, and add artistic touches that enhance the photo.
Adjusting Exposure and Contrast
In studio portraits, it’s essential to make sure the exposure is spot-on, especially with controlled lighting setups. Use tools like Adobe Lightroom or Photoshop to adjust the exposure, highlights, shadows, and contrast to bring out the best in your portrait.
Skin Retouching
One of the most common post-processing tasks in portrait photography is skin retouching. While you want to avoid over-editing and making the subject look unnatural, smoothing the skin, reducing blemishes, and enhancing facial features can help create a polished and professional image.
- Tip: Use frequency separation in Photoshop to separate the skin’s texture from its color for a more realistic retouch.
Sharpening and Details
Sharpen the eyes, lips, and hair to add definition to the portrait. Ensuring these areas are crisp and sharp will help draw the viewer’s attention and create a more engaging photo.
Conclusion: Creating Stunning Studio Portraits
Studio portrait photography offers a world of creative possibilities. With the right lighting setups, poses, and equipment, you can create images that are not only technically sound but also visually captivating. The controlled environment of the studio allows you to experiment and perfect your craft, ensuring your subjects look their best.
By understanding how to use light, guide your subject’s poses, and enhance your photos in post-processing, you’ll be well on your way to producing professional portraits that stand out. Whether you’re shooting for personal projects, clients, or a portfolio, studio portrait photography can take your creative career to the next level.