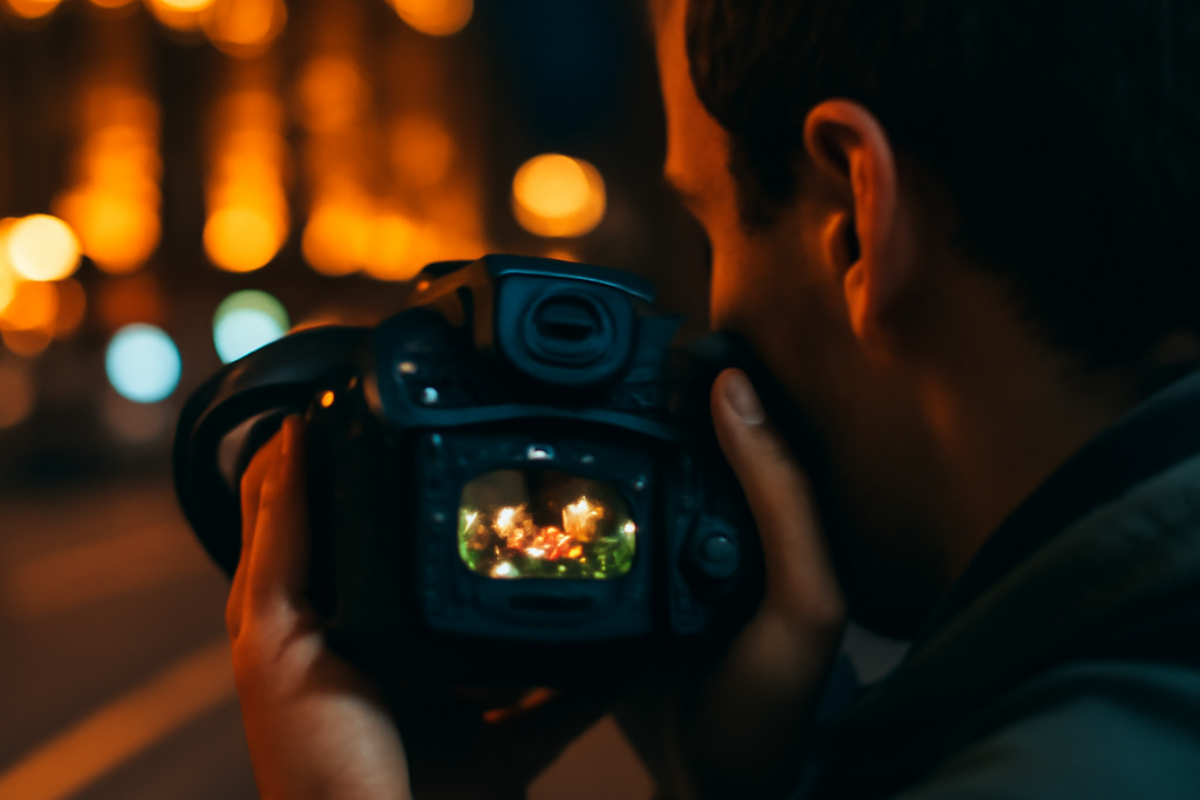
Shooting in low light can be one of the most challenging aspects of photography. Whether you’re working with dimly lit indoor spaces, capturing the magic of a night scene, or taking photos at an event with minimal lighting, mastering low light photography will significantly expand your creative possibilities. However, without the right techniques and tools, low light can lead to blurry, noisy, or poorly exposed images.
In this article, we’ll explore essential tips and techniques for shooting in low light environments, helping you capture stunning photos even when the light is limited.
1. Understand the Challenges of Low Light Photography
Before diving into solutions, it’s important to understand the challenges that low light environments pose:
The Impact of Low Light on Exposure
In low light, your camera has a harder time gathering enough light, which can result in underexposed images. This is especially problematic when shooting fast-moving subjects, as the shutter speed needs to be slowed down to compensate for the lack of light.
Noise and Grain
When shooting in low light, your camera’s sensor may need to increase the ISO to gather more light. However, higher ISO values can introduce noise (graininess) into the image, which can degrade the overall quality. The key is balancing ISO with other settings to minimize noise while achieving proper exposure.
Motion Blur
With slower shutter speeds in low light conditions, there’s an increased risk of motion blur, especially when photographing moving subjects. It’s essential to find the right balance between shutter speed, aperture, and ISO to ensure your image remains sharp.
2. Use a Wide Aperture (Low f-number)
One of the most effective ways to combat low light is by using a wide aperture (a low f-number). A larger aperture allows more light to reach the camera’s sensor, making it easier to capture a well-exposed image without needing a long exposure time.
Benefits of a Wide Aperture
- More Light: A wide aperture lets in more light, which is especially useful in dark environments.
- Shallow Depth of Field: A wide aperture also allows you to achieve a shallow depth of field, which is ideal for isolating your subject and creating a blurred background (bokeh).
- Tip: Use lenses with large apertures, like f/1.4, f/1.8, or f/2.8, to maximize light intake.
3. Increase Your ISO Sensitivity
Increasing your camera’s ISO setting allows you to capture more light, which can help brighten your image in low-light situations. However, increasing ISO can also introduce noise, so it’s crucial to find a balance between the two.
How to Adjust ISO for Low Light
- Start with a Low ISO (e.g., 400-800): Try to use the lowest ISO setting possible for the available light to minimize noise.
- Increase ISO Gradually: If your image is still too dark, increase the ISO incrementally. Modern cameras perform well at higher ISO levels (e.g., 1600-3200) without introducing excessive noise, but you should experiment with your specific camera to determine the optimal range.
- Tip: Use noise reduction features in your camera or editing software (such as Lightroom or Photoshop) to clean up any unwanted grain.
4. Use a Slower Shutter Speed (With Caution)
In low light, it’s common to use slower shutter speeds to allow more time for light to reach the camera’s sensor. However, longer exposures can result in motion blur, especially if your subject is moving or if your hands are unsteady.
How to Use Slower Shutter Speeds Effectively
- Use a Tripod: To avoid camera shake, use a sturdy tripod when shooting with slow shutter speeds. This is especially helpful for capturing still scenes, like landscapes or architectural photography, where the subject is stationary.
- Use a Remote Shutter Release or Timer: If you’re holding the camera, even slight hand movements can cause blur. A remote shutter release or your camera’s timer function will prevent any camera shake from pressing the shutter button.
- Tip: For handheld shots, try not to go below 1/60s for general photography. If you’re photographing moving subjects, you’ll need a faster shutter speed to avoid motion blur.
5. Stabilize the Camera for Handheld Shots
If you don’t have a tripod, there are other ways to stabilize your camera and minimize shake while shooting handheld. Proper stabilization techniques can help you shoot at slower shutter speeds without introducing noticeable blur.
Tips for Stabilizing Your Camera
- Hold the Camera Properly: Keep your elbows tucked into your body and hold the camera with both hands. This reduces camera shake and provides better stability.
- Use Image Stabilization: If your lens or camera body has image stabilization (IS) or vibration reduction (VR), make sure it’s turned on. This feature helps reduce shake, allowing you to use slower shutter speeds.
- Lean Against Something Solid: If possible, lean against a wall, tree, or any solid surface to stabilize your body and camera.
- Tip: Try the “tuck and roll” method—curl your elbows in, hold the camera close to your face, and brace the camera against your body to reduce movement.
6. Shoot in RAW Format
When shooting in low light, it’s crucial to capture as much detail as possible. Shooting in RAW format gives you greater flexibility during post-processing, especially when it comes to adjusting exposure, recovering shadow details, and reducing noise.
Benefits of Shooting in RAW
- Better Exposure Adjustments: RAW files contain more data, so you can adjust the exposure without degrading image quality.
- Noise Reduction: RAW files are easier to clean up when you need to reduce noise or grain in post-processing.
- Tip: Avoid shooting in JPEG in low-light situations, as JPEG files are compressed and have less flexibility for adjustments.
7. Use Light Sources Creatively
When shooting indoors or in environments with limited light, make the most of any available light sources. You can use lamps, candles, street lights, or even neon signs to add atmosphere and interest to your photos.
How to Make the Most of Available Light
- Position Light Sources Creatively: Experiment with where you position light sources in your frame. For example, a soft light from a window can create a beautiful, diffused look, while a street light or neon sign can add dramatic color and mood to your shot.
- Add Artificial Light: If necessary, use an external flash or continuous light source to supplement the available light. Just be mindful of how the additional light affects the scene and subject.
- Tip: Consider using a reflector or diffuser to modify the available light. Reflectors bounce light onto the subject, while diffusers soften harsh light.
8. Use Post-Processing to Enhance Low Light Photos
Even after you’ve captured your low-light photos, post-processing can help bring out the best in your images. Editing software like Adobe Lightroom or Photoshop allows you to make final adjustments that can improve the exposure, reduce noise, and enhance detail.
Post-Processing Tips for Low Light Photography
- Increase Exposure: If the image is too dark, you can brighten it slightly in post-processing, but be cautious not to introduce too much noise.
- Reduce Noise: Use noise reduction tools to smooth out any graininess caused by higher ISO levels or long exposures.
- Enhance Shadows and Highlights: Adjust the shadows and highlights to bring out more detail in dark areas and recover information in bright spots.
- Tip: Keep your adjustments subtle to maintain the natural look of your low-light scene.
Conclusion: Mastering Low Light Photography
Shooting in low light can be a challenging yet rewarding aspect of photography. By understanding your camera settings, using proper stabilization techniques, and creatively utilizing available light, you can capture stunning images even in the most difficult lighting conditions.
Remember that practice is key—take the time to experiment, refine your skills, and learn how to adjust your settings to get the best results in low light. With these tips and techniques, you’ll be able to create images that are vibrant, detailed, and full of atmosphere, no matter how little light you have to work with.